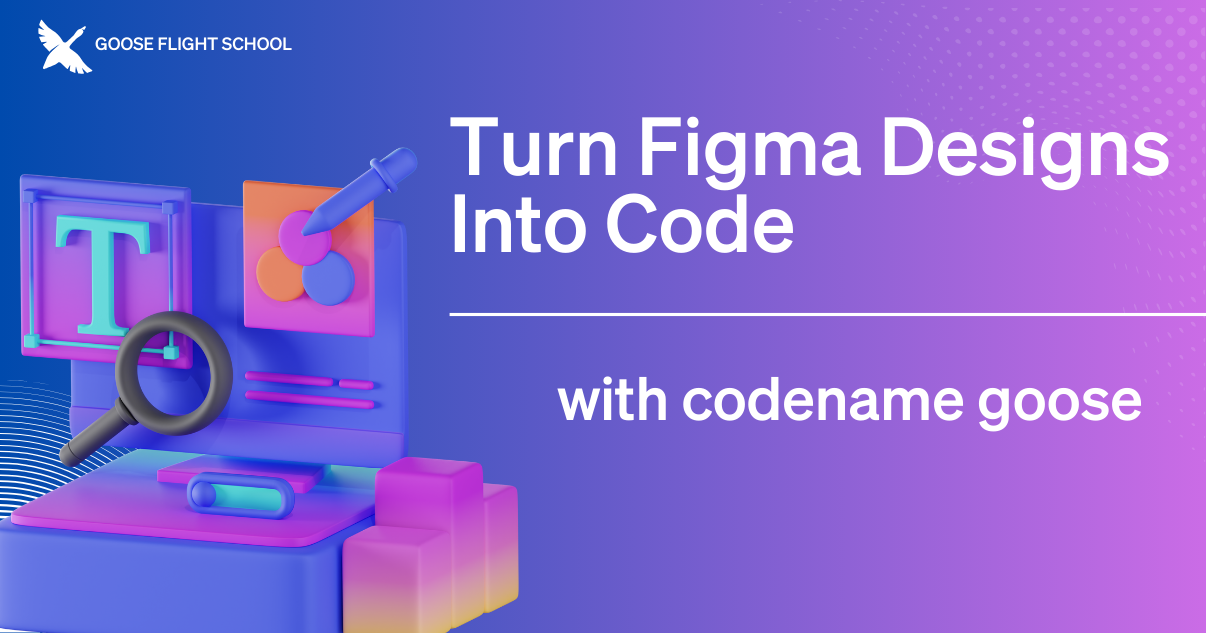
Turn Figma Designs Into Code With goose

In our previous episode of goose Flight School, our host Adewale Abati showed us how to use goose to take a Figma design and transform it into a functional Nuxt application. In this stream he covered the entire process, from initial set up to final implementation, highlighting how goose can help developers bridge the gap between design and development.
Extensions enhance goose's functionality by connecting with your existing tools and workflows. They add new features, access external data resources, and integrate with other systems. Learn how multiple extensions, including Figma and Developer, worked together seamlessly to dramatically accelerate development.
Live Tutorial: goose Builds Live
During the livestream, Adewale demonstrated step-by-step how goose handled each development phase, from creating the basic application structure to generating responsive layouts using Tailwind CSS. Adewale also highlighted how goose addresses potential limitations as you go, showcasing the powerful balance between the goose's automation and developer control.
Throughout the stream, Adewale shared valuable tips to prepare your design for goose. His key recommendations include:
- start with a well-structured Figma design
- use goose to make targeted improvements after the initial generation
- fine-tune specific elements as needed
- make sure you thoroughly test for functionality and responsiveness
Getting Started with goose and Figma
Whether you're a designer wanting to rapidly turn concepts into working code or a developer curious about streamlining design implementation, you can download goose with its built-in Developer extension and add the Figma extension.
For step-by-step instructions, check out the Figma tutorial.