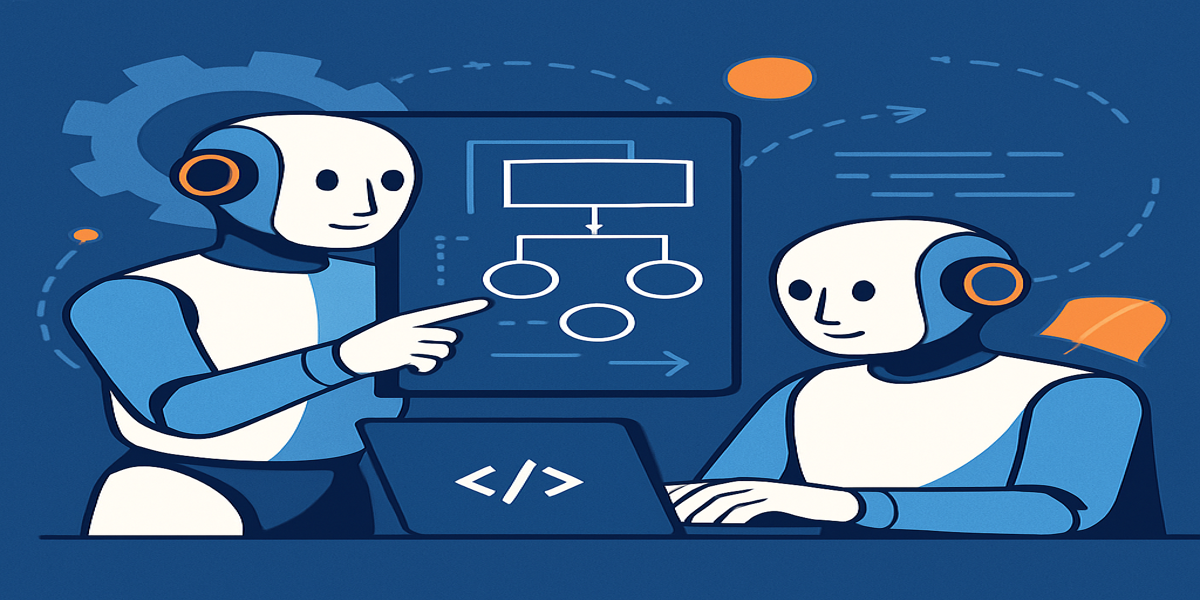
LLM Tag Team: Who Plans, Who Executes?

Ever wondered what happens when you let two AI models work together like a tag team? That’s exactly what we tested in our latest livestream—putting Goose’s Lead/Worker model to work on a real project. Spoiler: it’s actually pretty great.
The Lead/Worker model is one of those features that sounds simple on paper but delivers some amazing benefits in practice. Think of it like having a project manager and a developer working in perfect harmony - one does the strategic thinking, the other gets their hands dirty with the actual implementation.
What's This Lead/Worker Thing All About?
Instead of asking one LLM to do everything, Lead/Worker lets you split the load. Your lead model takes care of the thinking, decision-making, and big-picture planning, while your worker model focuses on execution—writing code, running commands, and making the plan happen. The magic is in the balance: you can put a more powerful (and sometimes more expensive) model in the lead and let a faster, more cost-effective one handle the heavy lifting.
Popular model pairings people are loving:
- GPT-4 + Claude Sonnet – Balanced intelligence and efficiency.
- Claude Opus + GPT-3.5 – Creative planning with quick execution.
- GPT-4o + Local models – Privacy-focused builds where data stays in-house.
Why You'll Love This Setup
-
💰 Cost Optimization Use cheaper models for execution while keeping the premium models for strategic planning. Your wallet will thank you.
-
⚡ Speed Boost
Get solid plans from capable models, then let optimized execution models fly through the implementation. -
🔄 Mix and Match Providers This is where it gets really cool - you can use Claude for reasoning and OpenAI for execution, or any combination that works for your workflow.
-
🏃♂️ Handle Long Dev Sessions Perfect for those marathon coding sessions where you need sustained performance without breaking the bank.
Setting It Up
Getting started with the Lead/Worker model is surprisingly straightforward. In the Goose desktop app, you just need to:
- Enable the feature - Look for the enable button in your settings
- Choose your lead model - Pick something powerful for planning (like GPT-4)
- Select your worker model - Go with something efficient for execution (like Claude Sonnet)
- Configure the behavior - Set how many turns the worker gets before consulting the lead
The default settings work great for most people, but you can customize things like:
- Number of turns: How many attempts the worker model gets before pulling in the lead
- Failure handling: What happens when things don't go as planned
- Fallback behavior: How the system recovers from issues
Real-World Magic in Action
During our livestream, we tackled a real project: adding install buttons to the MCP servers documentation page. What made this interesting wasn't just the end result, but watching how the two models collaborated.
The lead model would analyze the requirements, understand the existing codebase structure, and create a plan. Then the worker model would jump in and start implementing, making the actual code changes and handling the technical details.
The Project: Documentation Enhancement
We wanted to add install buttons to our MCP server cards, similar to what we already had on our extensions page. We needed to figure out how to add this functionality without breaking existing workflows.
Here's what the Lead/Worker model helped us accomplish:
- Analyzed the existing documentation structure
- Identified the best approach (creating a custom page vs. modifying existing ones)
- Implemented the solution with proper routing and styling
- Handled edge cases like maintaining tutorial links while adding install functionality
The Developer Experience
One thing that really stood out was how natural the interaction felt. You're not constantly switching contexts or managing different tools. You just describe what you want, and the system figures out the best way to divide the work.
The lead model acts as your strategic partner, while the worker model becomes your implementation buddy. It's like pair programming, but with AI models that never get tired or need coffee breaks.
Pro Tips from Our Session
Start with Good Goose Hints
We always recommend setting up your goosehints to give context about your project. It saves you from re-explaining the same things over and over.
Don't Micromanage
Let the lead model do its planning thing. Sometimes the best results come from giving high-level direction and letting the system figure out the details.
Use Git for Safety
Always work in a branch when experimenting. The models are smart, but having that safety net means you can be more adventurous with your requests.
Visual Feedback Helps
While the desktop UI doesn't show the model switching as clearly as the CLI does, you can still follow along by expanding the tool outputs to see what's happening under the hood.
The Results Speak for Themselves
By the end of our session, we had:
- ✅ Successfully added install buttons to our MCP server documentation
- ✅ Maintained all existing functionality (tutorial links still worked)
- ✅ Improved the user experience with better visual hierarchy
- ✅ Organized content into logical sections (community vs. built-in servers)
The best part? The models made smart decisions we hadn't even thought of, like automatically categorizing the servers and improving the overall page layout.
Ready to Try It Yourself?
The Lead/Worker model is available now in Goose. Whether you're working on documentation, building features, or tackling complex refactoring, having two specialized models working together can be a game changer.
Want to see it in action? Check out the full stream where we built this feature live:
Got questions or want to share your own Lead/Worker success stories? Join us in our Discord community - we'd love to hear what you're building!